We absolutely love the Adobe Creative Suite at iTCHYROBOT. Our team use it extensively and the tools are industry leading when it comes to creating digital art. That covers everything from drawing line art, manipulating photographs or making your own videos. Like any tools they take time to learn but getting started now the game has changed with the introduction of AI into their tools.
Before we go any further, for any of you involved in Education you are very luck that you can get special pricing and discounts. You can find out more on the Adobe Website by clicking here Adobe Creative Cloud for students and teachers | Adobe Creative Cloud (adobe-students.com)
To get started you need to install the Adobe Photoshop (BETA) trial.
Why do we think this is a game changer?
For education the new tools open a wealth of potential from bringing creative writing to life through to generating magical images for your newsletters or websites. Being able to add elements of the curriculum to school images is great.
What is Generative Fill?
Rather than trying to explain this ourselves here is the definition from Adobe;
Photoshop’s AI generative fill is a powerful feature that enables you to effortlessly fill, edit, and remove image elements with just a few clicks. Powered by machine learning AI, it generates parts of images or even entire composite photos in a fraction of the time it would take if a human were to do it.
How do you use the AI features?
Lets get right into some examples and show you the creative power you can unleash. We look forward to seeing what you create.
First, if you do not have Photoshop you can install the trial version from Adobe. Photoshop free trial & free download | Official Adobe Photoshop
Once you have that installed you can open it and start to play with some images.
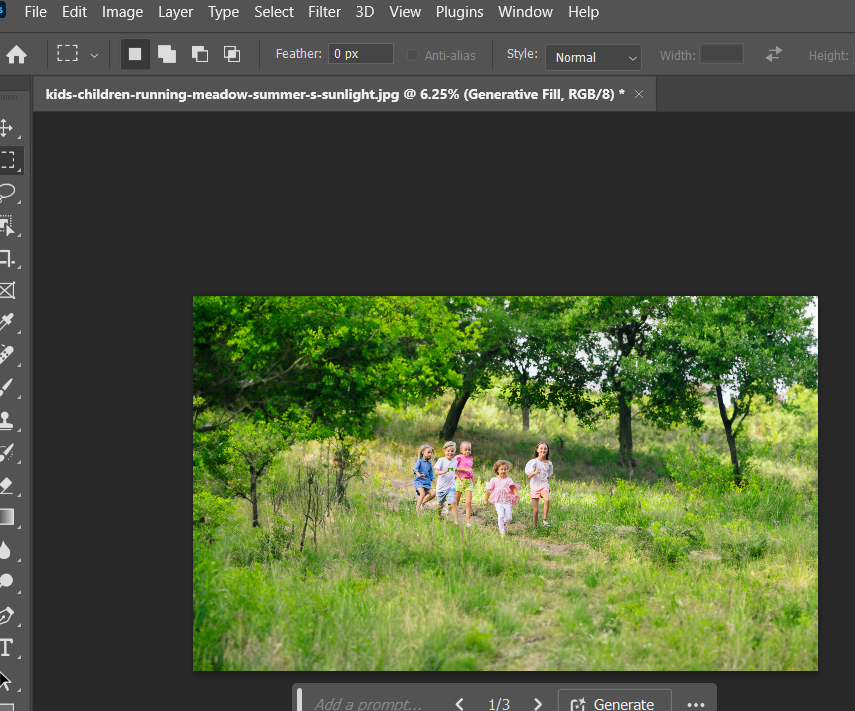
Here is our first image; Click on the Step 1, 2 and 3 sections below for how we changed the image and refer back to this one to see the changes.
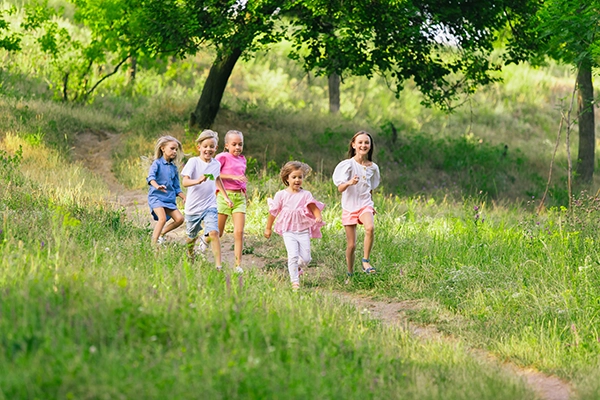
A nice scene of kids running in an outdoor area.
Step 1: Lets start by adding a bit more scenery around the kids
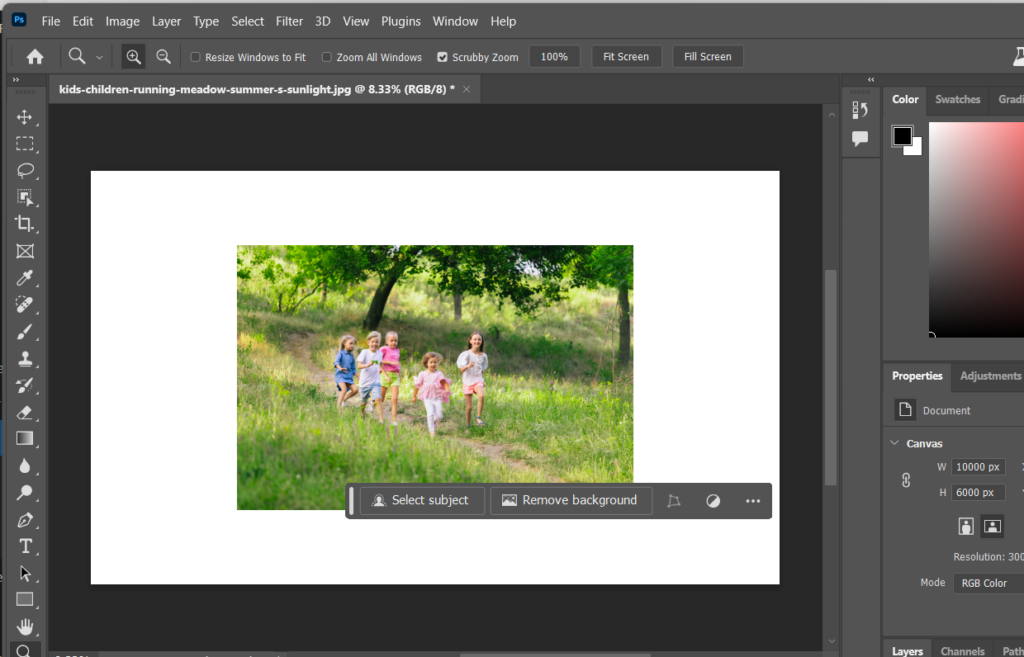
Above is the image with the canvas size made bigger than the default image. The first job is to fill in the white space with some scenery. First lets select the areas we want to fill.
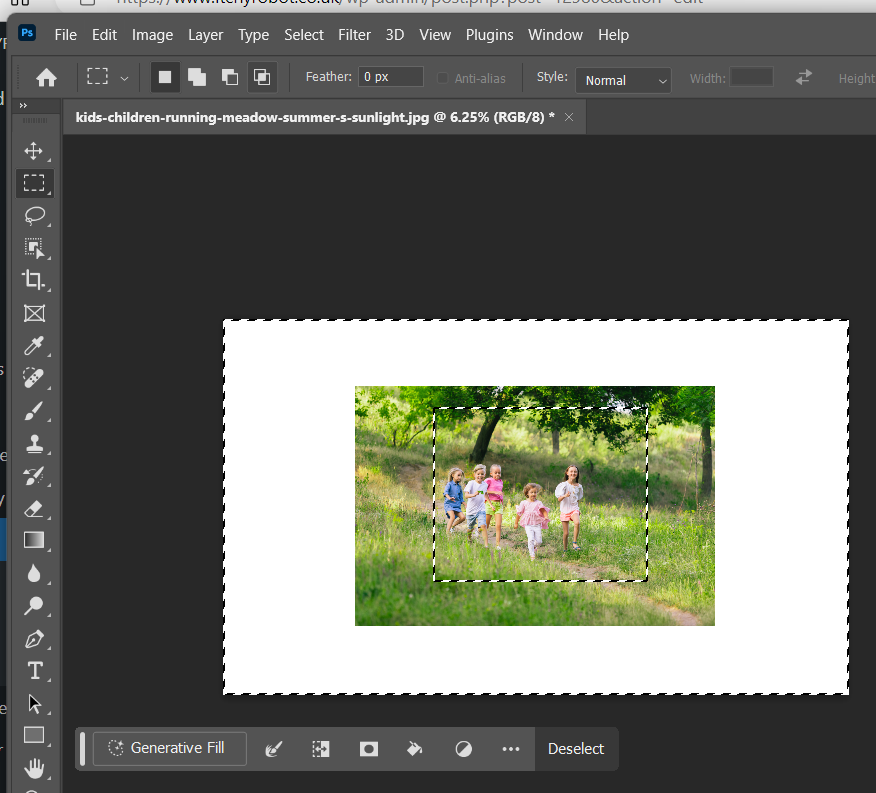
By selecting the area we now have the magic button “Generative Fill”.
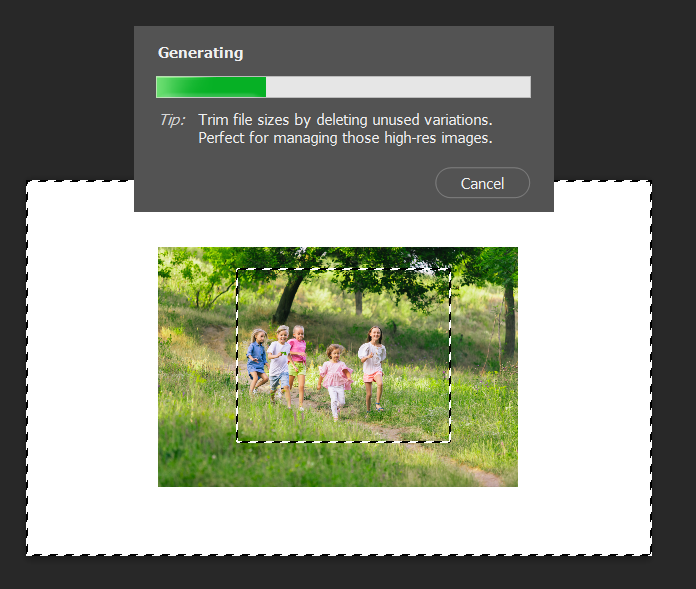
Clicking on generative fill activates a text box. At this point we don’t need to type anything. Just press generate.
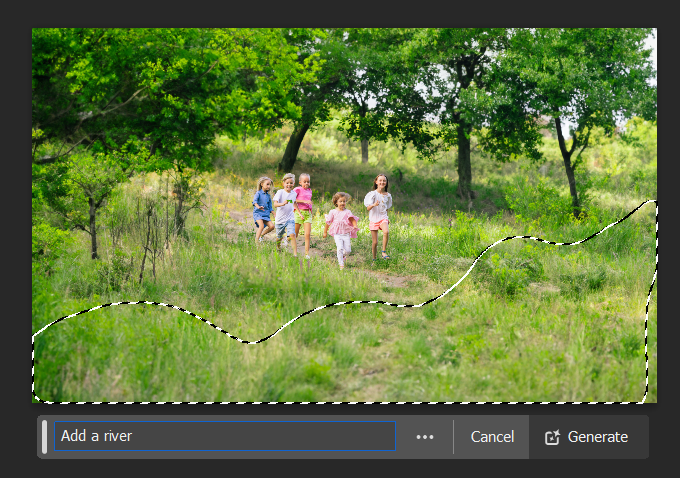
Step 2: Lets make it more interesting
Our image now has more grass and more trees to work with. Let’s add a river!
Select the area to put the river, press Generative Fill and tell it to add a river.
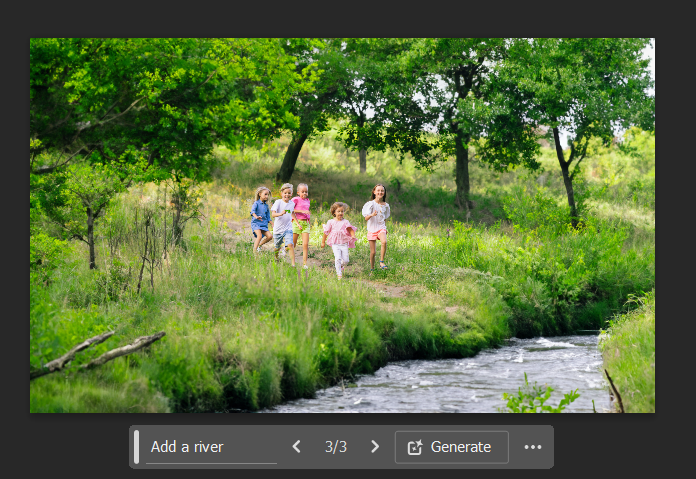
Now we have a nice river in our picture.
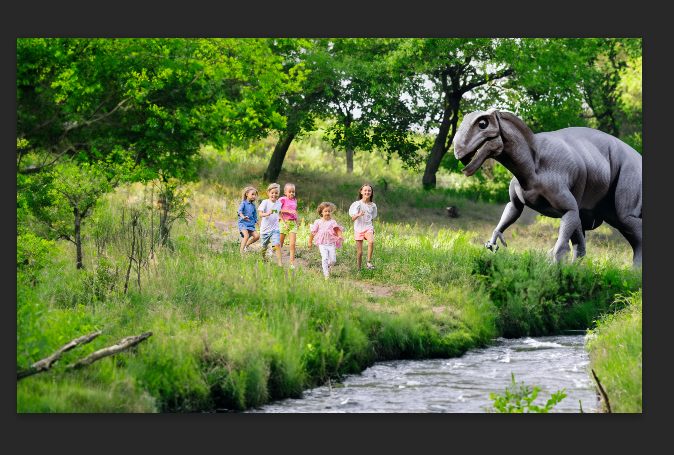
Step 3: Go Wild!
What about getting wildly creative can it handle it?
Let us have the kids being chased by a dinosaur? You can try and add in anything you can think of and see how it turns out.
You get the idea by now I am sure? Take a basic photo and you can bring the story in your mind to life in real time. What about that activity I can remember from school when everyone wrote one line! Setup a default image on a Whiteboard and start asking the pupils for what they want in their story and where! May be start with a picture of pupils in the class and let the kids imaginations run wild giving the next line of the story! Now they have their visual queues and ideas they can set to writing their masterpieces to go with the image they created as a class.
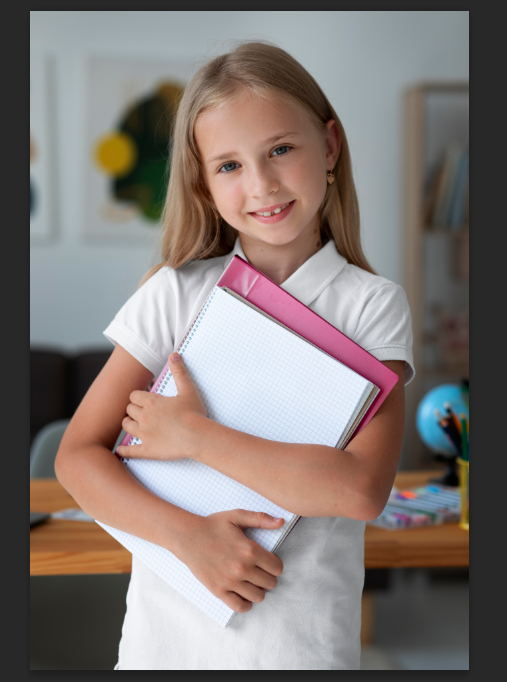
What about more subtle changes?
That is also possible. Lets get a different image. Something like we receive all the time to be added onto a school website. Jazzing these images up used to take hours of creating layers and overlays. Making shapes in Illustrator and bringing them into Photoshop to modify and embellish the image.
Check out our steps below to change the image.
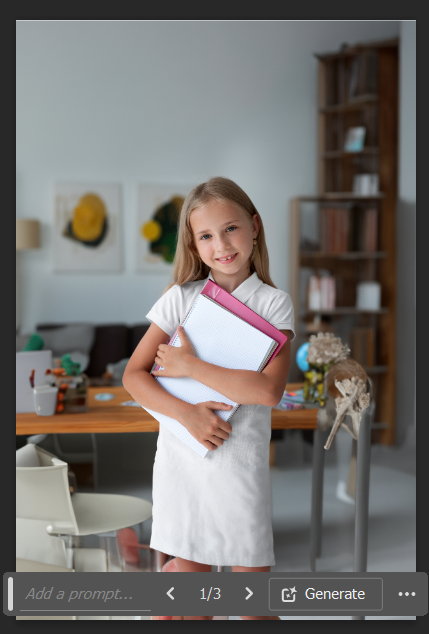
We started with making the canvas size bigger and allowing Photoshop to make up what the classroom might look like. This gives us a bit more room to be creative.
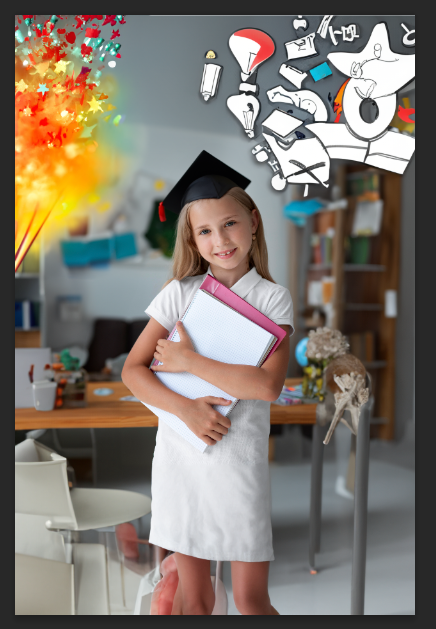
From there we were able to jazz up the image! I’ll not walk through the how too as above. But the image took less than 5 minutes. Its not perfect but it is a super starting point and probably suitable for a lot of applications.
As a quick example the three commands for the AI in the final step were;
- Add a mortarboard
- Add a party popper explosion
- Add some thinking symbols
All done with nothing more complex than selecting an area of the photo, selecting Generative Fill and letting Photoshop know via a description what I would like in that location.
This has been just a brief introduction to illustrate what is coming with AI and a few ideas of how it could be used for your school website header images, or in your school newsletter or even to inspire pupils in class to write a creative story while creating it visually.
If you want to learn more
Below is a couple of useful documents including a link to Photoshop, a super easy to follow video tutorial on YouTube and a source to acquire some free images to play with.